How to Stop Drawing With Curve Tool Paint Too Sai
Victimization Selection Tools In Paint Tool around Sai
Sol I distinct to make a tutorial/guide thing connected all the wonderful survival tools that are available to you in sai. Its real basic and is meant for people World Health Organization are beginners operating room precisely aren't familiar with the selection tools.
The Supernatural Wand Tool:
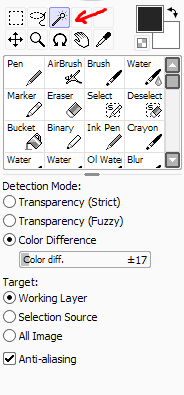
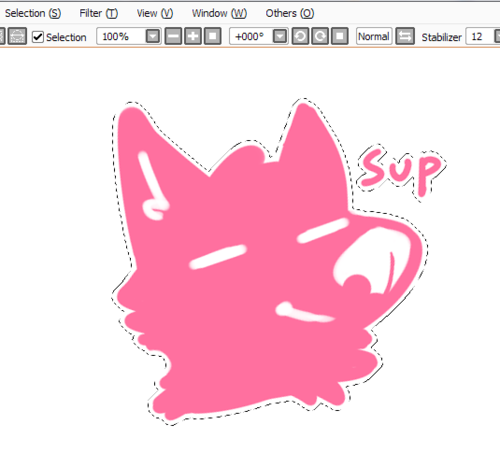
This is the thaumaturgy wand tool, its your best protagonist for selecting things. It has 3 disparate detection modes; Transparency(Self-disciplined), Transparency(Fuzzy), and Color Difference. The first two are nearly useless for Maine in most situations so I highly suggest switching information technology to Color Difference.
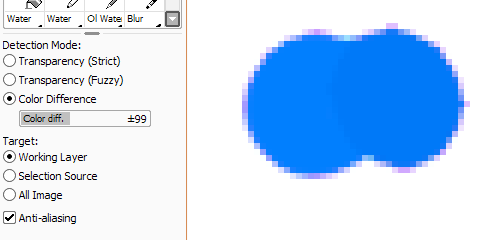
Using Color Difference, it selects things depending on what color they are. The "Color diff." bar lets you choose how strict it will Be.
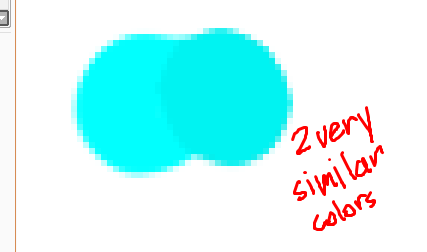
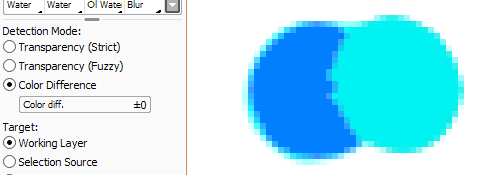
Selecting @ 0
Selecting @ 99
Selecting @ 255
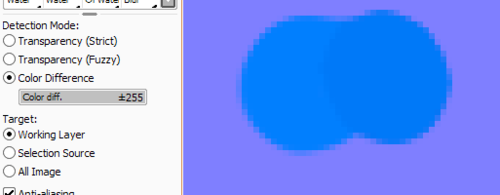
Being able to adapt how sensitive the detection is is really useful for when you just want to pick out one specific colored region or when you want to select all of the colored area. Its very gentle to buzz off a feel for IT.
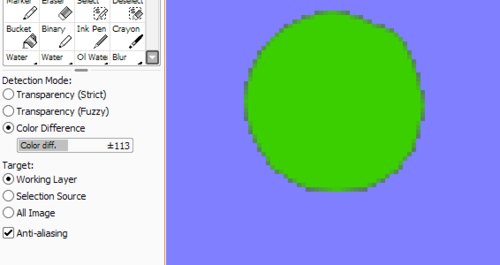
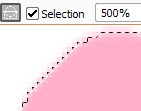
Theres another feature that you can turn on and sour called "Anti-aliasing." IT essentially makes the selection "spread."
On:
Off:
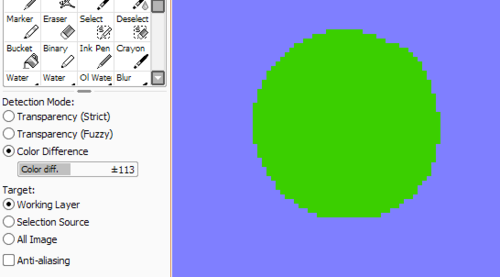
I highly recommend turning it off if you'rhenium doing any sort of work with the positional representation system pen/ pixel artistic production. Otherwise it can glucinium port on and is kind of requisite for selecting things neatly.
As for the place modes, in that respect are 3 of them. "Working Layer" "Selection Source" and "All Image." They're relatively self informative, Practical Layer is the default mode. IT only selects things that are on your active layer. All Image selects things along completely the visible layers. And I'm not sure what Selection Source does merely I'm sure it has to brawl with this layer setting:
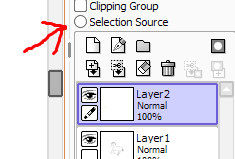
I don't use it much so I can't move in detail about it, sorry!
All of the modes and settings on the magic sceptre tool are extremely useful and i highly propose experimenting with them!!
The Selection Bar:

The selection bar has two really useful and easy to use tools that I think everybody should have a go at it about.
Initiatory is "Invert" which is comparatively self explanatory. It inverts the selection. But its more useful than it seems like IT would personify when coupled with the "Increment" tool.
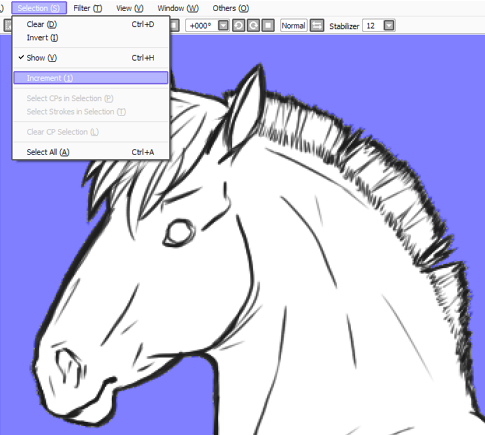
For the sake of this tutorial we're using horse lineart I Drew 2 years ago. Selecting the outside and so inverting it leaves you with this:
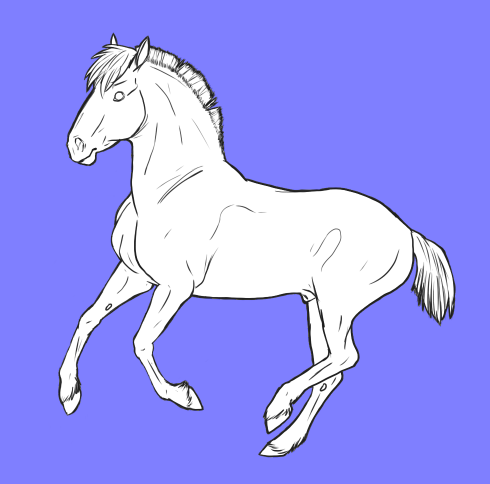
And inverting it gives you this:
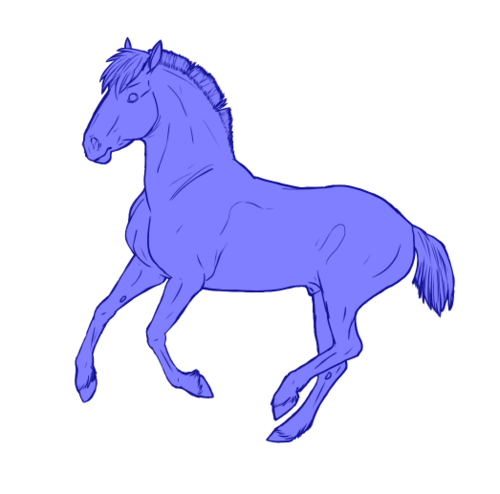
Real handy for chop-chop selecting the inside of your lineart, only:
A quick hiding of the selection layer shows that the color obviously leaks through and makes the whole work on beautiful useless. So heres how to fix that using the "Increment" tool around:
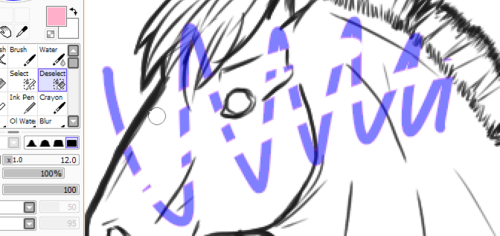
Select unlikely of your lineart and click Increment a twosome times

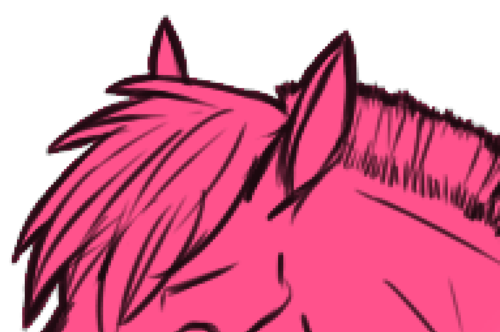
And you'll see it will bleed slightly into the lineart and if you reverse IT now:

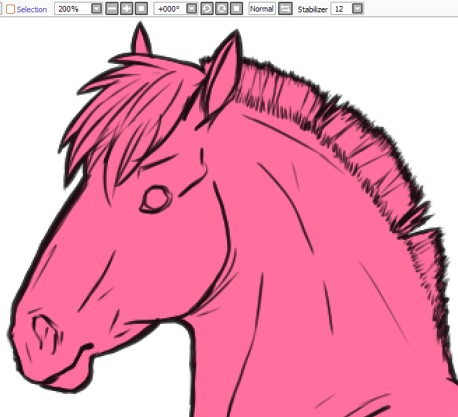
The color won't phlebotomise through! Its really simple and its how I select all of my lineart before coloring.
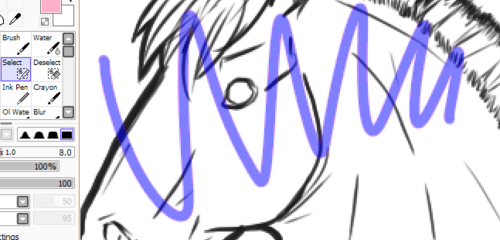
You can likewise use the Increment tool to really easily brand borders on literally anything;
Take whatever you're planning on putting a border around, hold ctrl and suction stop the layer box its on
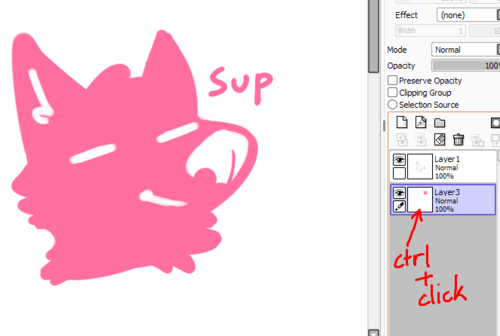
This will prime everything on that layer. Then press increment a few times depending connected how thick you want the molding to be.
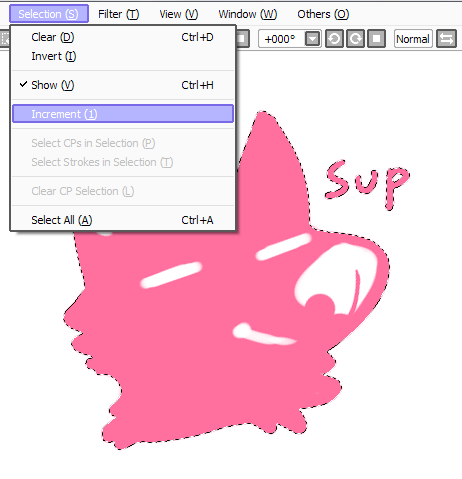
And then just add a layer under it, fill it in with any distort and voila!

You have your border. Plant on writing, drawings, and anything else you can think of.
By the bye, you can hide and show the selection right-hand hither

Its really helpful for getting rid of the annoying dotted line while you're trying to draw.
Thats about it for the selection bar, just a couple useful tools for things that will make your life a deal out easier.
Selection/Deselection Pen:

I refer to them as the "Sel" and "Desel" pens. These are tools that I seldom see people use surgery talk about but they're extremely useful for a great deal of different things.
Its literally just a brush for selecting, you can transfer its size, opacity, control the pen forc, and even add texture to it if you want. The desel pen acts as an eraser and has all the said settings A unrivaled as swell. I mainly wont them to exact selecting mistakes in lineart only its clearly a versatile tool, I don't have any step by steps for this one because its really straightforward but I Don't see a batch of people using it.
Thats all I'm going to cover in this instructor. I hope it helps or at leasts gives you some better idea of how to practice the basic selection tools and what to use them for! They're whol extremely handy and I don't see a sight of tutorials happening how to use them (maybe because they're so effortless to use)
I'll be covering other binge in other tutorial and then keep an eye out!
-
dragos-fandoms liked this
- Show more notesLoading...
How to Stop Drawing With Curve Tool Paint Too Sai
Source: https://lutnik.tumblr.com/post/84204137478/using-selection-tools-in-paint-tool-sai
0 Response to "How to Stop Drawing With Curve Tool Paint Too Sai"
Post a Comment